Friday, July 11, 2014

Light it up!

Usually when I start a new project, I have at least something of an image in my mind.  Well, this time, I have started with an idea, and I'm still trying to get to the image.

I want to do something with fireflies, glittering and flittering across the surface of the quilt.  But in a subtle, lovely way. Not tacky.  And I have decided I want to do this with LED lights.

I found a neat website, SparkFun, where you can find LEDs and all the accessories you need, and read lots of tutorials about how to make it all work.    Also, check out Sew Electric. These tutorials are designed for kids, and may especially appeal to girls or anybody interested in sewing as a way to learn about electronics.

This is what my setup looks like, on a scrap of fabric I grabbed from my cutting table:

The red cord connects it all to my computer, the purple circle is a tiny computer called a Lilypad, and I've hand-sewn a connection to an LED with conductive thread. When the project is done, it will have a battery rather than being connected to the computer, but I haven't figured out how to put the battery in yet. And this is nothing like what the finished quilt will look like- it's just a way to experiment with the LEDs.

It started off pretty easy- I made my LED blink on and off by following a step by step tutorial.  But then it got tricky.  I wanted my light to fade slowly in and out, and then pause for a few seconds before turning back on. The fading took a few hours of Googling.  That 2 second pause?  It took me two days- but I actually wrote 2 lines of code myself to make it happen!  

In this video, you should see the light gradually get brighter, then fade off, then go black for 2 seconds.


If this video doesn't play, you watch it on YouTube.

Learning new things can be fun and exhilarating, but it can also be super frustrating.  When I was trying to figure out if the thread I bought will work to carry enough current through the surface of a large quilt, reading a suggestion like this filled me with dread:  "Your safest bet on a complicated project is to calculate the resistance your circuit can handle using Ohm's Law."  What?  Should I just give up now?  But, I figured out that if you can calculate how many strips of fabric it takes to make a binding, you can calculate resistance with Ohm's Law.  

So I'm excited to be embarking on a new project.  I'll keep you posted as I learn more.  If you have experience with e-Textiles I'd love to hear about it!

Thursday, May 29, 2014

NQA show

The National Quilting Association show was here in Columbus, OH last weekend.  I've enjoyed visiting this show for a few years now, and this was the first time I entered some quilts. It was a big thrill for me to go and see them hanging up, and also to win an Honorable Mention for Tree #1.  The work of some from friends from AQA and the Columbus Modern Quilt Guild were also well represented.


It was a fun day all around, with my mom and sister coming from out of town to see the show. Dan came by in the afternoon (what a supportive guy!).  Our friend Derrick works at the convention center so he stopped by too. It is always interesting to hear the reactions of non-quilters.  They both were impressed by the range of different things you can do with a quilt.
 
Some interesting things I learned from this show:

I definitely prefer entering shows that are within driving distance.  It was great to see my quilts hanging up, rather than just sending them away.

I really love seeing tons of quilts in person, in a big range of styles. Modern, art, traditional- lots of quilts that I would never make myself but I just delight in looking at up close.  Seeing quilts in person is way better than in magazines or on blogs!

Winning a ribbon was great, but not winning a ribbon is fun too (good thing- the ribbon is an anomaly).  It was interesting to see the quilts under very good lighting from a larger distance and in a different setting.
 
The judges' comments were encouraging overall with some specific and helpful ideas for how to improve. Binding- you are my nemesis!
 
I would encourage everybody to enter their quilts in more shows!  This one is not juried; they accept the first 400 entries.  So go for it!

Sunday, March 30, 2014

Is Tree #5 turning into a UFO?

At what point does a work-in-progress become a UFO?  I started Tree #5 with great eagerness, but it has been languishing on the design wall lately.  To me, a project becomes a UFO when I start to dread it, rather than feeling excited about it. So I'm trying to recapture my excitement for this project!
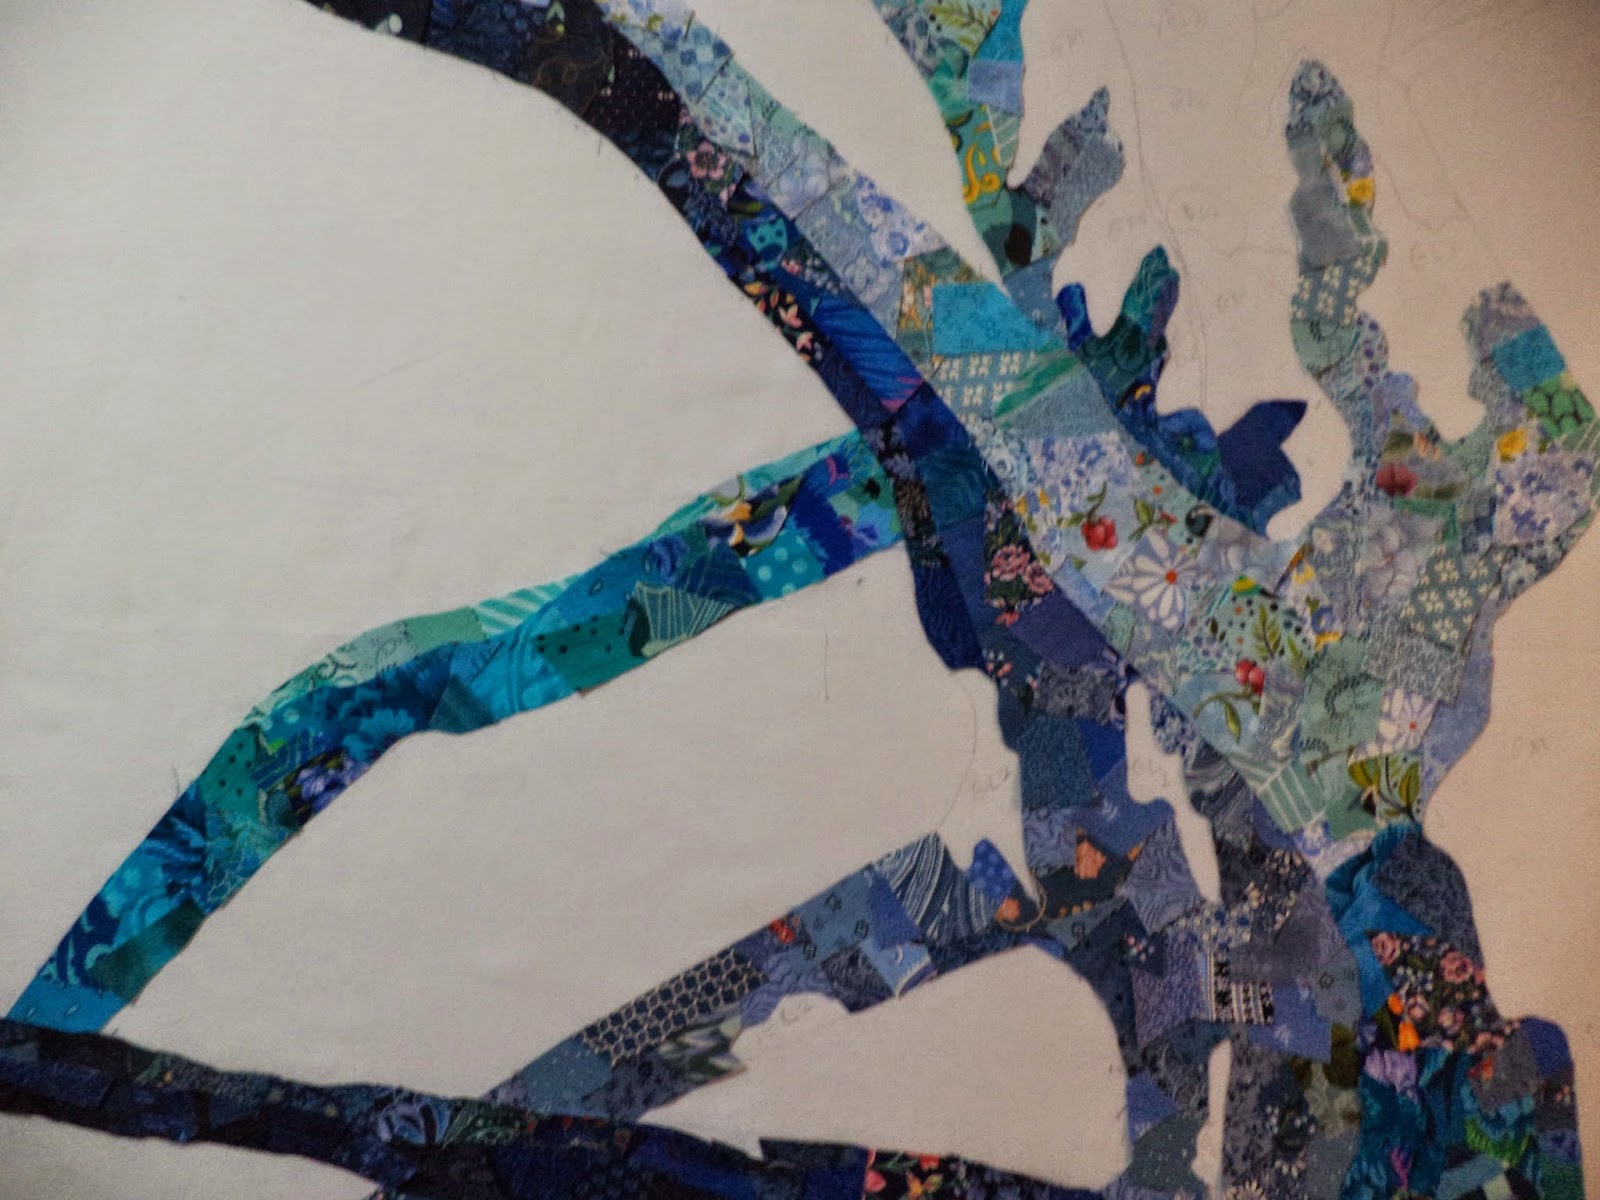
My plan for this quilt is to use more detail to make it resemble an actual sycamore, rather than just a generic tree.  I'm challenging myself to work with a range of 5 values, rather than 3 as I have in previous quilts.
Here's an inspiration photo I took of a sycamore.


Here's the quilt so far.  It's kind of hard to tell what it will look like, because there are lots of big white gaps in it still. I will be filling the gaps in with a second color, just like a sycamore has both gray and white bark.  I haven't decided on the second color yet, but I'm considering green. I just need to make sure that there is enough contrast between the blue and green to show up.
Here's a close-up:
 
The Columbus Modern quilt guild is hosting a UFO challenge and I'm hopingit will motivate me to get this project done!

Friday, February 7, 2014

Quilting over snippets

I started the free motion quilting on Tree #4 today.  When I quilted Tree #3, it was the first time I had tried the snippet technique, and I had a lot of trouble with the pieces falling off while I was trying to quilt it.  Not fun!  So this time I really loaded it up with glue first.  I think it is helping.  The presser foot has caught a few edges and lifted them slightly, but no pieces are off of the quilt yet!

I gave a lot of thought to which quilting design to use.  On Tree #3 I did spirals, mostly because that's what Susan Carlson does in her Serendipity Quilts book. I thought the spirals were too challenging, between the snippets falling off and the difficulty of seeing what you are doing, giving the mish-mash of many prints.  And then, when you are done, the design hardly shows!  The snippets themselves are so busy. See what I mean?


So for these reasons I'm trying a variation of stippling that I think looks like bark for the tree. I haven't made up my mind about the background yet.
Here's a closeup:
Machine quilting stippling
 
Another benefit of this design is that it goes so quickly!  I'm linking up to Off the Wall Fridays and the Free Motion Quilting Project.


Sunday, February 2, 2014

A productive week

My newest project, Tree #4, is coming along nicely.
Tree art quilt
 
I have all of the snippets in place, so now I need to go back and carefully glue down all of the loose edges. This is fairly time consuming, but I want to be thorough.  Last time, on Tree #3, I skimped on glue and the pieces were falling off as I was try to quilt it. Pretty frustrating!  Also, I made sure to use Aileen's tacky glue throughout, rather than the glue stick I tried before. Hopefully I'll be quilting it next weekend!
 
Here's what the sewing room floor typically looks when I'm working with snippets:
 
 
I find them everywhere. A few weeks ago I felt a scratchy sensation on my arm while I was driving, and I figured out it was from masking tape sticking a snippet to the inside of my sleeve. 
 
In other quilting news, I enjoyed seeing a selection from Quilt National at the Riffe Gallery last week.  The show is open through April 13, so check it out if you are in Columbus! 

Saturday, January 25, 2014

Grow your Blog

Today's post is a little different.  For my loyal readers (that's you, Mom!) it's kind of a review of what I've been up to- and a big thank you for following along!  For anybody visiting from the Grow Your Blog Linkup, welcome!  I'd like to show you what I make, and also invite any comments or suggestions about how to improve my blog.

This is me, in the middle.  My mom's on the left, and my sister on the right. This picture is from our trip to Hawaii, back in 2012.  Of course, we had to stop at some quilt stores!

 
I appreciate and admire all types of quilting, from traditional to modern. I personally most enjoy making art quilts.  I've been working on a series of Tree quilts.  So here they are, in chronological order.
Tree #1
 

blue and red tree quilt
 
Tree #2


Tree # 3

I love machine quilting.  It was tricky to learn at first, and it took lots of practice!  Luckily I found the FreeMotion Quilting Project- it's a great website with tons of videos that show you how to machine quilt, step by step.

Now I teach an Intro to Free Motion Quilting at Sew to Speak.  I love helping beginners get started on FMQ. 


Also I belong to 2 fun quilt guilds:  The Columubs Modern Quilt Guild, and the Art Quilt Alliance.

So these are few of my favorite things. What do you love most about quilting?

Saturday, January 11, 2014

Out on a limb

I've made some progress on Tree #4 this week. 
 
The limb on the left was longer before- I had planned for it to extend off the edge, but it seemed to overpower the main tree.  I've covered it up by laying yellow background pieces on it, but I haven't glued them down yet. Which do you like better- the shorter limb (above) or the longer limb (below)? You can got out on a limb (ha, ha) and leave your vote in the comments!
 
It was so cold here early this week that there was frost inside the window of my quilting room. Those Machinger's quilting gloves really came in handy!


And I made an impromptu draft dodger by bunching up some FMQ practice sandwiches and stuffing them at the bottom of my window. Hmm... maybe I should write a tutorial and call it the "FMQ Up-cycling Draft Dodger!" (just kidding!)

 
I'm linking up to Nina Marie's Off the Wall Fridays.  Check it out to see lots of inspiring fiber art!
 

Thursday, January 2, 2014

Hello 2014

Time for a quick recap of 2013, and some goal-setting for the New Year.  I find quilting goals so fun and invigorating, because I tend to actually follow through much better than with my typical resolutions (lose weight, clean more, etc) which are quickly abandoned.
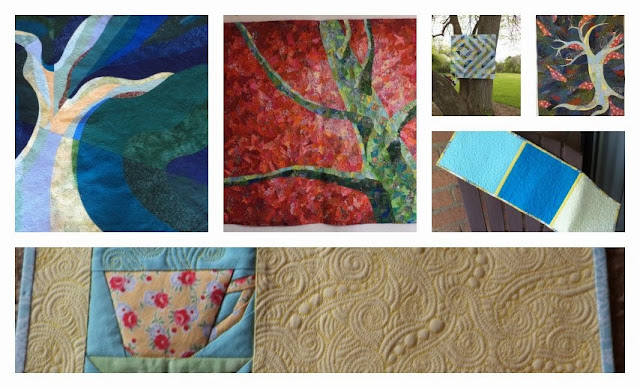
Here's what I made in 2013:


It was a good year.  I met some goals: I improved my free-motion quilting, and I started teaching at Sew to Speak (yay!).  I've entered my work in shows, and I finished 3 quilts in the Tree series.  So, what's next?
2014 Goals:
1.  Continue to exhibit my work in shows- specifically MQX East, NQA, and the Fine Arts division of the Ohio State Fair.
2. Finish Tree # 4.
3.  Re-organize my sewing room.  I need better storage for my stash.  Currently I have these plastic drawers under my cutting table, which make great use of the space, but I've outgrown them. Also I'd like to organize my thread on a hanging rack.


4. Move toward making more original quilts, and defining my own style.  Ruth McDowell and Susan Carlson have been big influences on the Tree quilts.  I appreciate and admire their work, but now I want to move beyond that. I want to make quilts that look like me, and not like somebody else (well not literaly me.  I'm not going to make self-portraits).  This is a big goal, and I'm not sure exactly how to get there. And it's certainly not something to cross of the list in just one year. But if you don't know where you want to go, you'll never get there, right?
I'm linking up with Off-the-Wall Fridays.  Check it out!
Here's to a happy and productive 2014!  Thanks for reading!

Wednesday, January 1, 2014

2 finishes in one day

I celebrated New Year's Eve with a quilting marathon.  In addition to Tree #2 which I posted yesterday, I also finished Tree # 3 (it was almost done already, though).

I used a finishing technique from Susan Carlson's book- I glued snippets of fabric to the front, wrapped around the edge, and glued them on the back.  I really like how it looks on the front, but I think it's kind of messy on the back.  But I didn't want to see a line of binding around the edge, and it was too stiff to turn under for a facing. So this seemed like the best option.   In this picture, I've almost finished the edging, and you can see the back of the quilt with room for about 3 more snippets.

I ironed the label on at 11:43 pm Dec 31- so I can say I finished it in 2013!
Happy New Year, and thanks for reading!